Showing posts with label curly. Show all posts

Thursday, 13 June 2013

Victory Rolls - Hair Tutoral (with bonus hair doughnut tutorial)

 
With the 50's retro look being a huge look alot of ladies are struggling with the 'ole Victory Rolls!
If video tutorials have still left you in a bit of a situation, hopefully this SUPER SIMPLE tutorial will see you through!
 
You will need:
Bobby pins, hairbrush, hair spray and hair clips!
(hair doughnut for bonus tutorial at the end!)
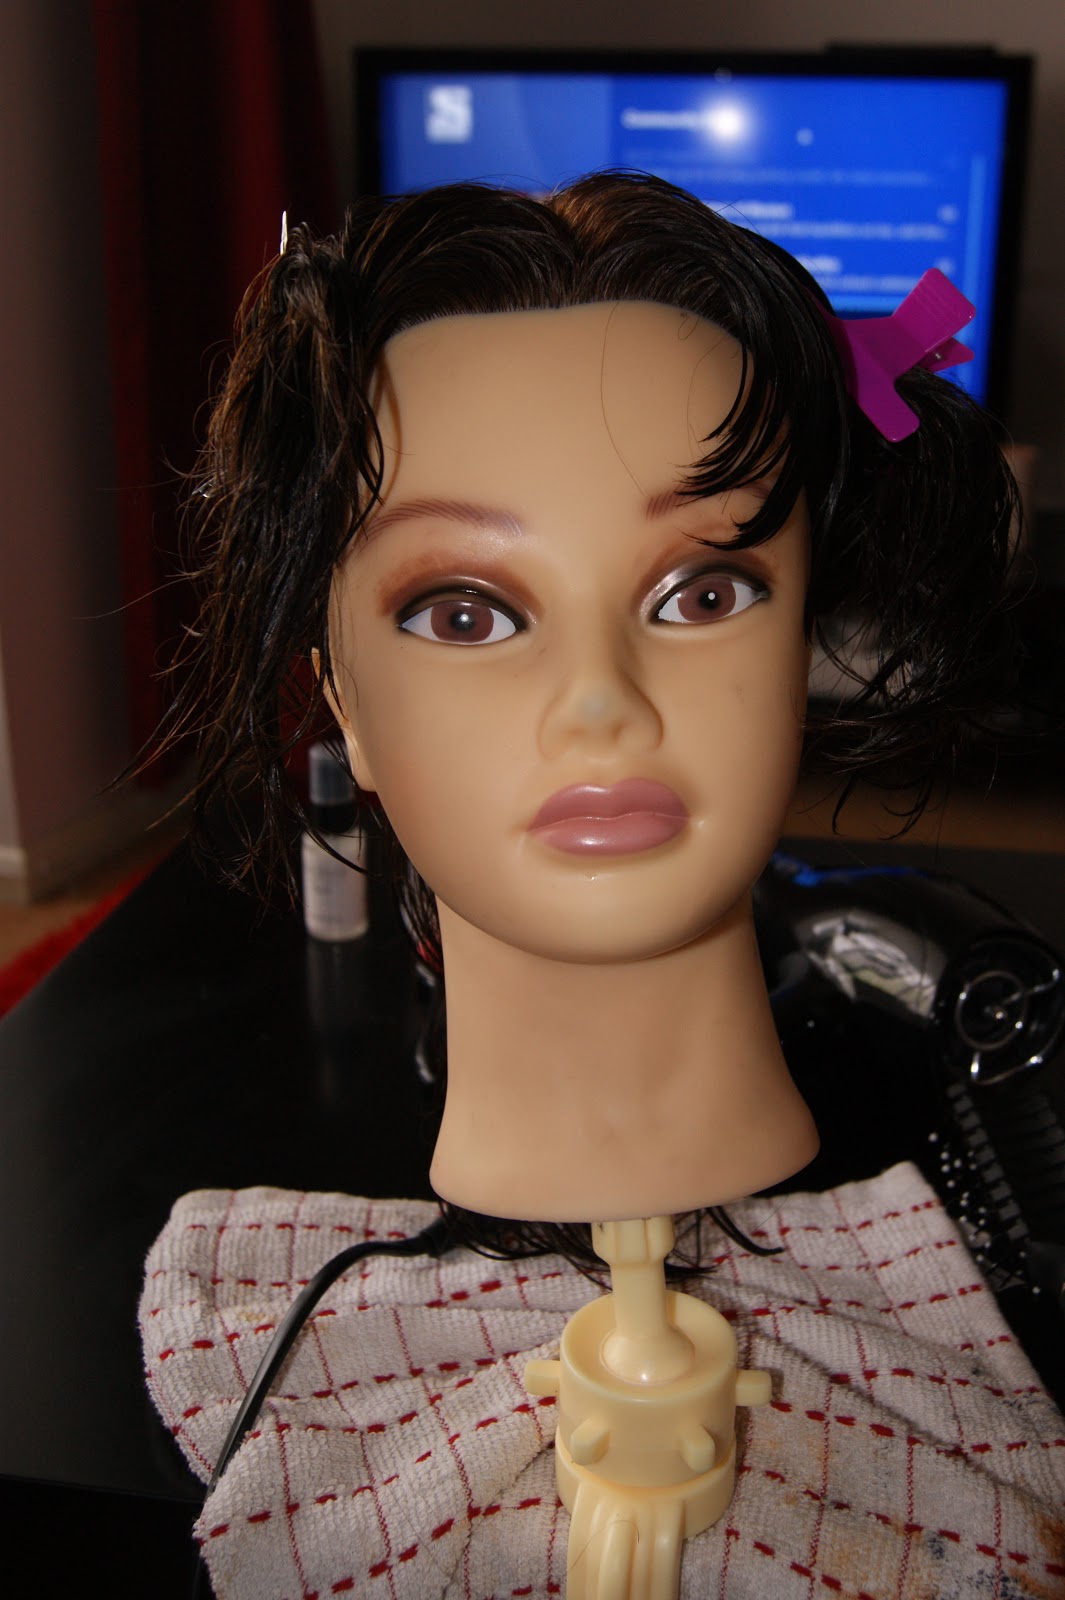
 
 
STEP ONE: 
Curl your hair! It makes the whole process loads easier!

 
STEP TWO:
 Take a section of your hair. You want a section from the front to just behind the ear. It doesn't really matter if the parting isn't particually perfect or anything!

 
STEP THREE:
Divide the section into two and backcomb the back one. This will help hold the shape and make it easier to style!

 
STEP FOUR:
Smooth the non backcombed hair OVER the top of the backcombed bit and smooth with a bit of hairspray. Brush all the hair back and upwards towards the crown, try to make sure you keep this hair smooth!

 
STEP FIVE:
 
Simply roll the ends of your hair around two fingers to make a loop around your fingers! Simple eh?!

 
STEP SIX:
 
Roll the hair in on itself towards the scalp!


STEP SEVEN:
 
Once you reach the scalp pin the hair with as many bobby pins as you need to keep the shape! Try to hide the pins INSIDE the victory roll.

 
STEP EIGHT:
 
Smooth with hairspray and shape /play with it/add more pins until your happy with the shape!
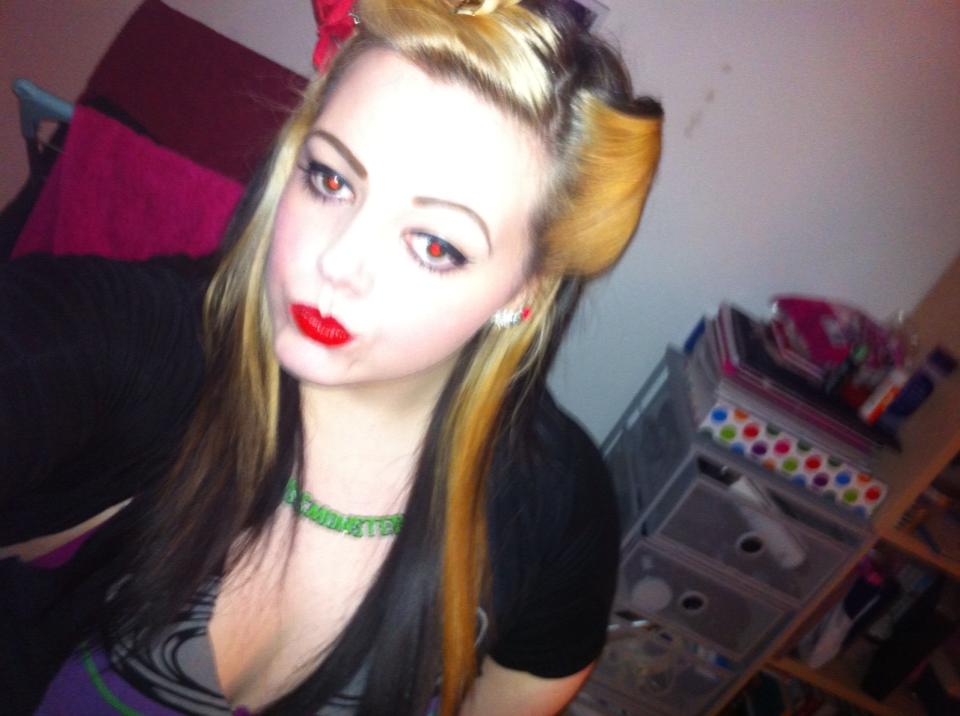
 
DONE!
 
Repeat on the otherside!
 
Mine are a tad wonky, but my poor head has taken a beating the last few days with curling and highlights, she is in desperate need of a good shampoo and blowdry!
It might take a few attempts to get them perfectly level etc, but you WILL get there!


BONUS TUTORIAL
 
How to use a hair doughnut!
 
I still get people telling me they have no idea how to use these little beautys! They really are SUPER easy!
 
Pull the hair back into a pony tail where you want your bun to be and pull the pony tail through the middle of the doughnut.
 
Pull the doughnut to the ends of the hair and simply start rolling the doughnut back towards the head, tucking the hair around it as you go.


Keep rolling and tucking until you run out of hair, then simply secure with bobby pins and give it a good ole blast of hairspray!
Simple!


Until next time!
 
The Rock 'N' Roll Hairdresser
 
Becca
xxx

Monday, 13 May 2013

Tutorial - The perfect straight blowdry!

So always wondered how to get that gorgeous salon straight blowdry without having to use straighteners? Look no futher!
 
What You'll Need:
Wide Tooth Comb
Round brushes
Hair Clips
Flat Brush
Hairdryer (with or without nozzle)
Styling product - mousse etc
Finishing product - hairspray


Step One
 
Come out your wet hair with your wide tooth comb. Put in your mousse or styling product of choice and comb through.
Section your hair into three. Two front sections and one large back section.

 
Step Two
 
Take smaller sections of the large back section. Using your round brush blowdry the hair DOWNWARDS, from root to tip.
 
TIP; The direction you blowdry is KEY to how your blowdry comes out! Always blowdry down the hair from root to tip, this flattens the cuticle and ensures a smooth shiney finish!
 
 
Step Three
 
Continue to blowdry the hair in sections until the crown. If you want some height in the crown complete the next step, if you don't miss out Step Four and continue to blowdry the hair straight.
 
 
Step Four
 
To get height at the crown, pull the hair UP. Place your brush at the roots and blowdry the hair upwards, ensuring the head is still directed at the tips of the hair.


Step Five
 
Time to dry the front sections! Do exactly the same with the sides as the back. Divide into smaller sections and blowdry root to tip!


Done!
 
If you have layers and your finding that they seem to have a mind of their own, heres a little tip to get them to lay flatter without having to grab the GHD's!
 
 
Using a flat brush, pull the hair backwards from the face and blowdry.
This makes the hair set into a different shape and makes even the most stubborn layers lay flat!
 
Hope this helps!
I'll be reviewing some curling wands and tongs in the next blog! I'll also update with a tutorial on how to use straighteners to get curls!
 
The Rock 'N' Roll Hairdresser
xxx


Friday, 3 May 2013

First Post!!

Hey!
 
I'm Becca and two months away from getting my hairdressing level 2 qualification! With this in mind I thought I'd start a blog about hair products and new styles, with simple how toos and where the best prices are!
 
Here's a few of my hairdressing pics!
 
Clients:
 
 
Emma
Cut, temporary color & cut
Emma had a trim, layers cut in and a temporary color mousse applied to her brown hair to add extra shine and hide roots during regrowth. Fringe was not colored by me.


Denise
Full Head Lowlights & Curly Blowdry
Denise had a full head of brown lowlights and a curly blowdry.
She is one of my regular clients.
 
 
Denise
Deep conditioning treatment, wash & straight blowdry.
Denise's hair needed a bit of TLC after coloring, so we treated it with a deep conditioning treatment by Loreal Expert and gave her a straight blowdry
 
 
Steph
Wash, cut & blowdry
Steph had a trim, layers cut in and shaped around her face.
Dip dye was NOT dyed by me but I shall be correcting it next week! (May 2013)
 
 
ME!
Victory rolls
Excuse my mammoth roots (spend too much time on other peoples hair and not enough on my own!) but here's my victory rolls I had before a 50's themed show
 
 
Denise
Full head french plait
Denise wanted a bit of a change, so we gave her a full head french plait!


Stewart
Full head color & cut
Stewart had black hair with regrowth but fancied a change, so we bleached his fringe dyed it a temporary red and sorted the regrowth! I then gave him a choppy cut to match his style! Stewart is also my hubby!
 
Stewart
Restyle
Stewart was bored of his choppy cut and went with an old school 1950's inspired Rockabilly Pomp.


More photos to come in my next post!
Until then!
 
Becca
xxx