Showing posts with label brush. Show all posts

Monday, 13 May 2013

Tutorial - The perfect straight blowdry!

So always wondered how to get that gorgeous salon straight blowdry without having to use straighteners? Look no futher!
 
What You'll Need:
Wide Tooth Comb
Round brushes
Hair Clips
Flat Brush
Hairdryer (with or without nozzle)
Styling product - mousse etc
Finishing product - hairspray


Step One
 
Come out your wet hair with your wide tooth comb. Put in your mousse or styling product of choice and comb through.
Section your hair into three. Two front sections and one large back section.
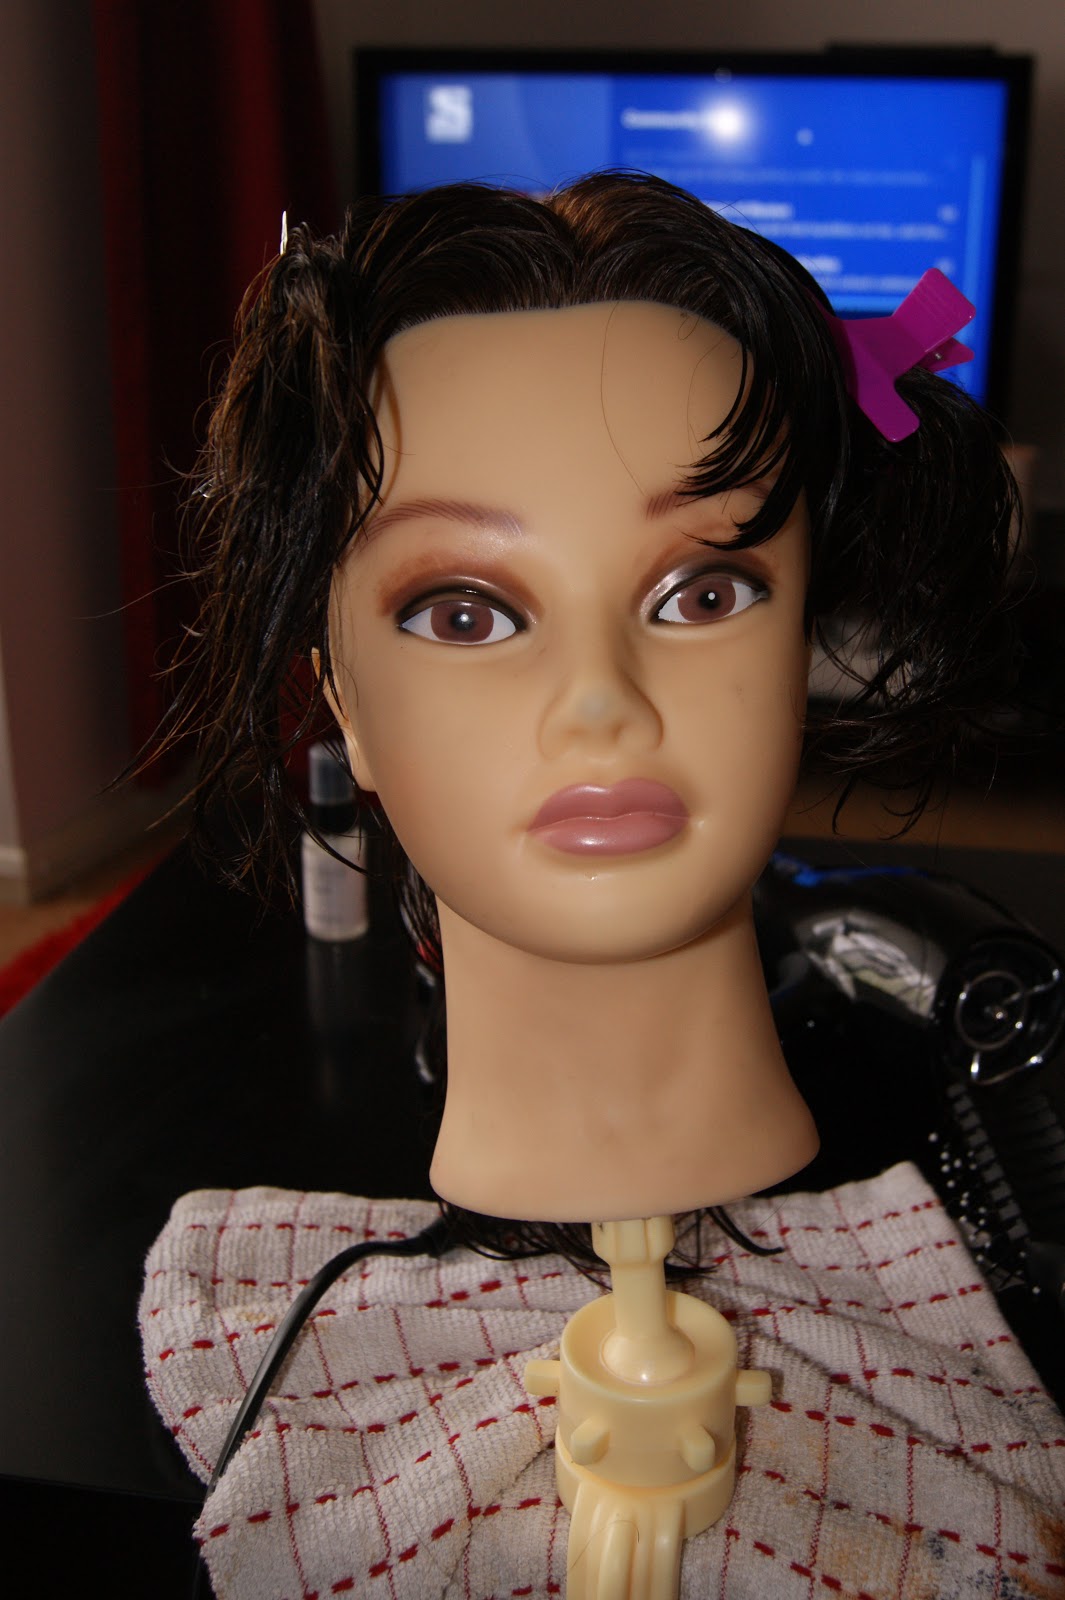
 
Step Two
 
Take smaller sections of the large back section. Using your round brush blowdry the hair DOWNWARDS, from root to tip.
 
TIP; The direction you blowdry is KEY to how your blowdry comes out! Always blowdry down the hair from root to tip, this flattens the cuticle and ensures a smooth shiney finish!
 
 
Step Three
 
Continue to blowdry the hair in sections until the crown. If you want some height in the crown complete the next step, if you don't miss out Step Four and continue to blowdry the hair straight.
 
 
Step Four
 
To get height at the crown, pull the hair UP. Place your brush at the roots and blowdry the hair upwards, ensuring the head is still directed at the tips of the hair.


Step Five
 
Time to dry the front sections! Do exactly the same with the sides as the back. Divide into smaller sections and blowdry root to tip!


Done!
 
If you have layers and your finding that they seem to have a mind of their own, heres a little tip to get them to lay flatter without having to grab the GHD's!
 
 
Using a flat brush, pull the hair backwards from the face and blowdry.
This makes the hair set into a different shape and makes even the most stubborn layers lay flat!
 
Hope this helps!
I'll be reviewing some curling wands and tongs in the next blog! I'll also update with a tutorial on how to use straighteners to get curls!
 
The Rock 'N' Roll Hairdresser
xxx


Sunday, 12 May 2013

Modern Retro French Pleat Tutorial

So the french pleat is a tad out-dated now, so this updo has been twisted up into a more modern take, perfect for weddings, proms or dinner!
 
I based this look off a Trevor Sorbie hair up design from his book The Bridal Hair Book, you can check him out and his work at http://www.trevorsorbie.com
 
Right on to the tutorial!
 
You will need;
 
Strong Hold Hairsray
A soft bristle brush (I used a deman)
A pin tail comb
Bobby pins
Hair Clips


You'll also need some hair! I've used my trust training doll Pippa! Excuse the left over zebra print on her face, I was practising for a fashion show!
 

Step One

Start with the hair split into three sections like so;


Step Two
Backcomb one of the back sectioned hair, clip back into the original three sections and then backcomb the other back section.


Step Three
 
Smooth one of the backcombed sections using a soft bristle brush towards the centre parting. You may need to use hairspray to get a smooth finish to the sides and to make it a bit easier for yourself!


Step Four
 
Fold the smoothed section into itself towards the centre parting


Step Five
 
Secure the section with bobby pins and hairspray to get rid of fly aways and give more hold.


Step Six
 
Do exactly the same thing on the other backcombed section of hair but pin it slightly over the middle parting, on top of the other half of the pleat. Finish with hairspray to smooth any fly aways!
 
 
Step Seven
 
 
Brush out your top section, divide it into two and backcomb each sections towards the back of the head.
 
 
Step Eight
 
Smooth the two backcombed sections back with a soft bristle brush, and pin, giving height to the crown for an almost there beehive look, finish with hairspray!


I finished mine with a hair flower for a more 50's retro twist!


TADA! A super cute, modern twist on what's now a bit of an out dated hair up!
I'll be posting more how to's very soon, but are there any requests? Leave your comments below if there's something you want to see!
 
Until next time!
Becca
The Rock 'N' Roll Hairdresser

Tuesday, 7 May 2013

It's not right but we do it anyway!


The things we're not really meant to do with our hair but do it anyway...
 
1. Brush it when it's wet! Lets be honest we lost that wide tooth comb years ago...
(picture credit webmd.com)
 
 
2. Pick split ends. How come something we know is bad is so satisfying?!
 
(picture credit tbhairny.blogspot.com)
 
3. Straighten it. EVERYDAY. No one wants to be THAT person with the hair wings after all!
 
 
(avaliable from GHD )
 
4. Play with our hair. Yes it makes it greasy, yes it means we have to wash it more but when there's nothing else to do or your meant to be doing work...
 
 
(picture credit business insider )
 
 
5. Use the wrong shampoo/conditioner. If your already IN the shower and theres some in there it just seems like too much of a hassle.
 
(picture credit icanhascheeseburger )


6. Cut our own fringes. It always ends in tears yet some how we never, ever learn!
(picture credit .lovelyish.com)


7. Ask our friends to help sort out our roots. How come even though they can see the back of your head they still miss a bit?!

(picture credit guidespot)


8. Letting our color fade dramatically before recoloring. It's just SOOOO much of an effort!

(picture credit posh24)

 
9. Never doing the allergic reaction test before we color. It'll be fine won't it?!
(picture credit killerstrands)
 
 
10. Filling our hair with dry shampoo for the SECOND day in a row. What?! It's summer, there's no time to worry about the fro!


Next blog entry will be on tools everyone needs to get salon perfect hair & a how to guide on the perfect straight blowdry!
 
Love
Becca
xxx